90KPa Dual-Pump Vacuum Sealer for Smarter Meal Prep
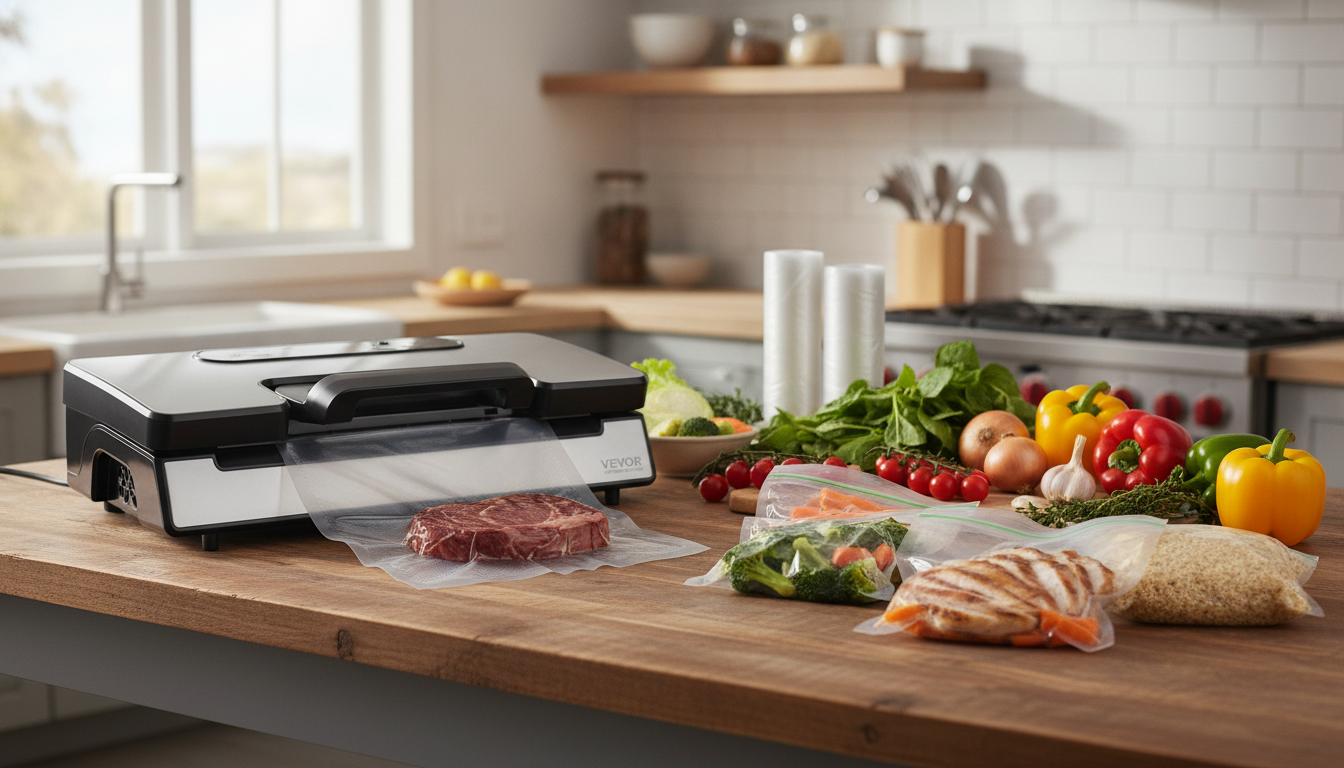
Powerful Sealing for Smarter Storage
A strong vacuum seal helps lock out air to slow oxidation, reduce freezer burn, and keep pantry staples fresher longer. This dual-pump sealer is built for quick, consistent sealing across everyday foods—plus it includes 10 bags to start organizing meals, leftovers, and bulk buys right away. If your freezer is full of half-used boxes and bulky containers, vacuum sealing can help you switch to flatter, stackable packs that are easier to label, rotate, and find.
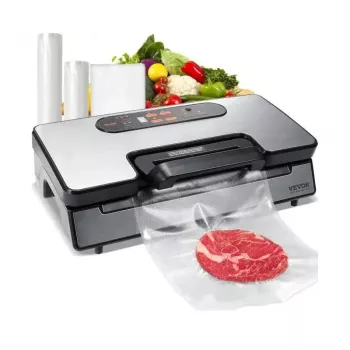
If you’re ready to upgrade your routine, the Powerful 90Kpa Vacuum Sealer Machine with Dual Pump & 10 Food Storage Bags is designed for people who want reliable suction strength without turning meal prep into an all-day project.
What sets a 90Kpa dual-pump sealer apart
Not all vacuum sealers pull air out of bags with the same force or consistency. A higher suction class (often expressed in KPa) generally means the machine can remove more air, improving the tightness of the pack and helping reduce the “ice crystals + dry surface” pattern that shows up as freezer burn.
- High suction strength: Pulls more air from the bag, improving contact between bag and food for a tighter seal.
- Dual-pump design: Can support faster air removal and steadier performance during back-to-back sealing sessions (helpful when portioning multiple meals at once).
- Flexible storage horizons: Works for short-term fridge/pantry use and longer-term freezer storage when paired with safe handling and proper temperatures.
- Starter bags included: The included 10 bags reduce setup friction for first-time users and help you test bag sizing preferences before buying larger rolls.
For food-safety basics and storage guidance, refer to the FDA’s refrigerator/freezer recommendations and timeframes from the FDA and the USDA FoodKeeper App.
Best everyday uses
A vacuum sealer earns its keep when it becomes part of your weekly rhythm—stocking the freezer, keeping dry goods tidy, and turning leftovers into planned lunches instead of forgotten containers.
- Freezer protection: Meats, seafood, bread, berries, and pre-portioned meals to reduce freezer burn over time.
- Pantry organization: Rice, flour, nuts, coffee beans, and snacks to slow staling and limit moisture exposure.
- Meal prep: Batch-cook proteins and vegetables, then seal in portion sizes for quick weeknight planning.
- Marinating: Vacuum helps encourage quicker flavor penetration when used with appropriate settings and liquid control.
- Sous vide prep: Seal proteins and vegetables in compatible bags for temperature-controlled cooking (follow safe heating practices and use appropriate bags).
Common foods and bag tips
| Food type | Suggested prep | Bag/handling note |
|---|---|---|
| Raw meat & poultry | Pat dry; pre-chill 15–30 minutes | Use extra headspace; double-seal if desired |
| Fish & seafood | Pat dry; keep cold | Consider double-seal; avoid overfilling |
| Soups & stews | Cool fully; freeze flat first if possible | Use liquid-friendly approach; keep seal area clean |
| Berries & delicate items | Freeze on tray first | Pre-freezing helps prevent crushing |
| Rice, beans, flour | Ensure fully dry | Add oxygen absorber only if appropriate and dry; keep seal area dust-free |
For additional freezing best practices (like cooling foods quickly and preventing temperature abuse), the National Center for Home Food Preservation is a helpful reference.
Getting a reliable seal: a quick workflow
Strong suction is only part of the result. Most “seal failures” come down to moisture, crumbs, wrinkles, or not leaving enough room at the top of the bag.
- Choose the right bag size: Leave enough room at the top so the sealing strip stays clean and flat.
- Dry the seal zone: Wipe moisture, oil, or powder from the top inner edges before sealing.
- Arrange food for airflow: Keep items in a single layer near the seal and avoid folds/creases at the sealing edge.
- Use the correct approach for moist foods: Stop suction early if liquid approaches the seal area, then seal.
- Seal check: Tug gently and inspect for a uniform seal line with no wrinkles or gaps.
- Label and date: Note contents and freezing date so you can rotate inventory confidently.
Practical performance details to look for during use
Cleaning, care, and troubleshooting
What’s included and who it’s for
At-a-glance buying checklist
| Need | Why it matters | Match for this type of sealer |
|---|---|---|
| Strong suction | Tighter seals and better freezer protection | High suction class supports this |
| Fast repeated sealing | Meal prep and batch sessions | Dual-pump design can help maintain pace |
| Moist-food handling | Prevents seal failures from liquids | Use careful technique and appropriate mode |
| Starter bags included | Try it immediately and test sizes | Includes 10 bags |
Featured picks in stock
- Powerful 90Kpa Vacuum Sealer Machine with Dual Pump & 10 Food Storage Bags
- Heavy-Duty Articulating Overhead Camera Mount
- Timberland Men’s Leather Boots
FAQ
Is 90Kpa suction too strong for delicate foods?
It can be if you vacuum at full power on soft items, but delicate foods are easy to protect by pre-freezing (like berries on a tray) and stopping suction early before the bag tightens too much. Arranging items in a single layer also helps prevent crushing.
Can liquids be vacuum sealed without making a mess?
Yes—cool liquids completely first, leave extra headspace, and keep the seal area clean and dry. For best results, freeze soups or sauces flat until solid, then vacuum seal the frozen block to avoid liquid being pulled into the sealing zone.
How long does vacuum-sealed food last in the freezer?
Vacuum sealing helps reduce freezer burn, but it doesn’t make food safe indefinitely. Storage times vary by food; label and date each bag, rotate regularly, and use trusted guidance like the USDA FoodKeeper timeframes.








Leave a comment