XLR Condenser Mic with Low-Cut: Cleaner Vocals Fast
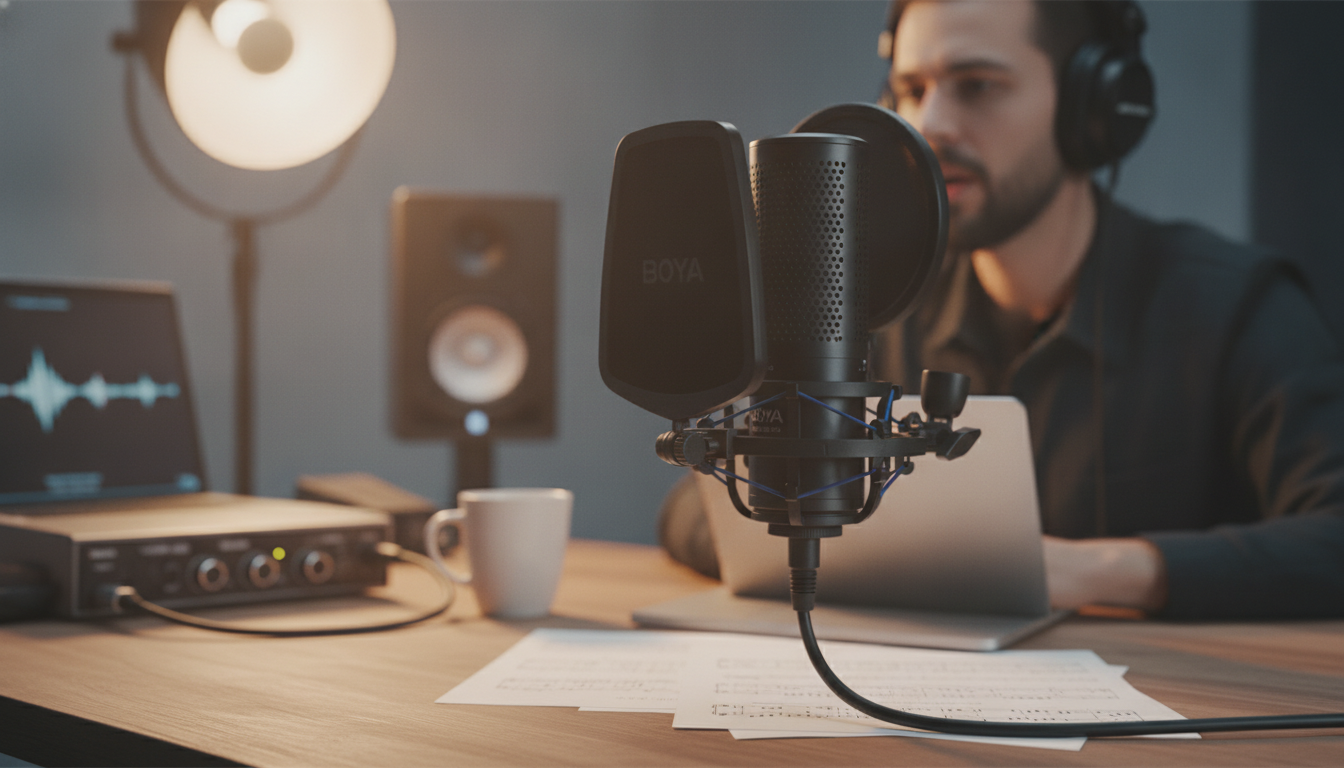
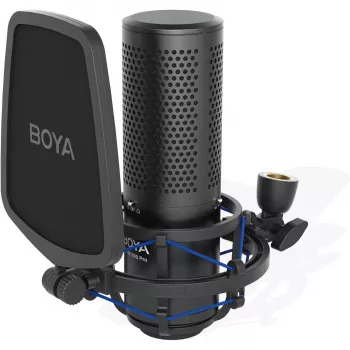
Studio Large Diaphragm Condenser Microphone with Low-Cut Filter & XLR Output
A large diaphragm condenser microphone with an onboard low-cut filter and balanced XLR output is a practical choice for vocals, voiceovers, acoustic instruments, and content creation. With the right placement and a clean signal chain, it can deliver a polished “studio” sound while helping you avoid common problems like rumble, boominess, and inconsistent levels. For more guidance, see Microphones in Audio Studio – Evergreen Help Wiki.
If you’re building or upgrading a small recording setup, the Studio Large Diaphragm Condenser Microphone with Low-Cut Filter & XLR Output pairs naturally with an audio interface and a few basic accessories. For creators who also shoot overhead demos or desk content, a stable mount like the Heavy-Duty Articulating Overhead Camera Mount can help keep framing consistent while your mic stays in an optimal position. For further reading, see Guides: Creative Media: Audio.
What This Microphone Is Built For
- Studio vocals: Captures detail and “air” that many dynamic mics won’t emphasize, especially on modern pop and R&B-style delivery where clarity matters.
- Voiceover and dialogue: The low-cut filter helps reduce desk thumps, HVAC rumble, and proximity boom that can mask consonants.
- Acoustic instruments: Useful for guitar, strings, and percussion when you want transient clarity and a brighter, more articulate sound.
- Streaming and podcasts: XLR output integrates with audio interfaces for better gain control, monitoring, and upgrade flexibility than many USB-only options.
- Home studios: One mic can cover multiple roles when paired with a basic interface, pop filter, and sensible placement.
Large Diaphragm Condenser Basics (Without the Jargon)
Large diaphragm condensers are popular because they tend to sound present and full on voice, while still capturing small performance details like breath, dynamics, and subtle articulation. That sensitivity is a strength—and also the reason these microphones “hear” your room so clearly.
- Sensitive capsule: Along with your voice, it can pick up reflections, computer fans, street noise, and keyboard clicks. A quieter space often beats heavy processing later.
- Proximity effect: As you move closer, lows often build up. If your recordings sound boomy, back off slightly before reaching for EQ.
- Vocal placement starting point: Aim for 6–10 inches with a pop filter, and angle the mic slightly off-axis to soften sibilance.
- Acoustic guitar starting point: Begin near the 12th–14th fret, about 6–12 inches away. Move toward the sound hole only if you need more body.
For a solid overview of mic types and placement fundamentals, the BBC’s audio basics are a helpful reference: BBC Academy – Microphones and Miking (Audio Basics).
Low-Cut Filter: When to Use It and What It Fixes
A low-cut (high-pass) filter reduces the lowest frequencies before they hit your interface and plugins. That can translate into clearer speech, more controlled compression, and fewer “mystery” rumbles that show up once you start editing.
- Reduces rumble: Footsteps, mic stand bumps, desk vibrations, and passing traffic often live in the low end.
- Tames close-mic bass buildup: Helpful for deep voices or extremely close placement where proximity effect gets exaggerated.
- Improves spoken-word intelligibility: Less low-end clutter means consonants and phrasing come through more clearly.
- Not always the right move: For sources that rely on low end (kick, bass cab), leave it off unless you specifically want a lighter tone.
- If things sound thin: Disable the low-cut and address the cause—better isolation, a shock mount, stand placement, and cable management—rather than over-filtering.
Common Low-Cut Use Cases
| Recording situation | Typical problem | Low-cut setting suggestion |
|---|---|---|
| Voiceover at a desk | Desk thumps, keyboard vibrations | Enable low-cut; keep the mic on a boom arm if possible |
| Close vocal (6 inches or less) | Boominess and plosives | Enable low-cut; add a pop filter and angle the mic slightly |
| Acoustic guitar in a small room | Room rumble and muddiness | Try enabling low-cut; reposition away from corners |
| Singing farther back (10–14 inches) | Less low-end buildup | Try low-cut off first; enable only if rumble persists |
XLR Output and the Gear Needed to Record
XLR is the studio standard because it’s balanced (lower noise over cable runs) and works with dedicated mic preamps. The tradeoff is that XLR microphones don’t plug straight into a computer without the proper hardware.
For phantom power basics and best practices, Shure’s guide is a clear, trusted explainer: Shure – Understanding Phantom Power.
Getting a Cleaner Sound in Typical Home Spaces
If you’re curious about the technical side of professional audio practices and standards, the Audio Engineering Society is the industry reference point: Audio Engineering Society (AES) – Standards and Publications.
Quick Checklist Before Hitting Record
| Item | Target | Notes |
|---|---|---|
| Distance | 6–10 inches (vocals) | Farther reduces plosives; closer increases warmth |
| Angle | Slight off-axis | Helps with harsh consonants and breath noise |
| Peaks | No clipping | Leave headroom for louder passages |
| Low-cut | As needed | Enable for rumble; disable if thin |
| Monitoring | Direct or low-latency | Catches issues early |
FAQ
Does an XLR condenser microphone need phantom power?
Most XLR condenser microphones require +48V phantom power from an audio interface or mixer to operate properly. Enable phantom power on the correct channel, and avoid toggling it with speakers turned up to prevent pops.
When should the low-cut filter be turned on?
Turn it on when you hear rumble, desk vibrations, or boomy low end from close-miking. If the result sounds thin, switch it off and improve isolation and placement instead.
Can this microphone plug directly into a laptop?
No—an XLR microphone needs an audio interface (or a mixer with USB) to connect to a computer. An XLR-to-USB cable typically won’t provide the same clean preamp gain, phantom power support, and monitoring control as a proper interface.








Leave a comment